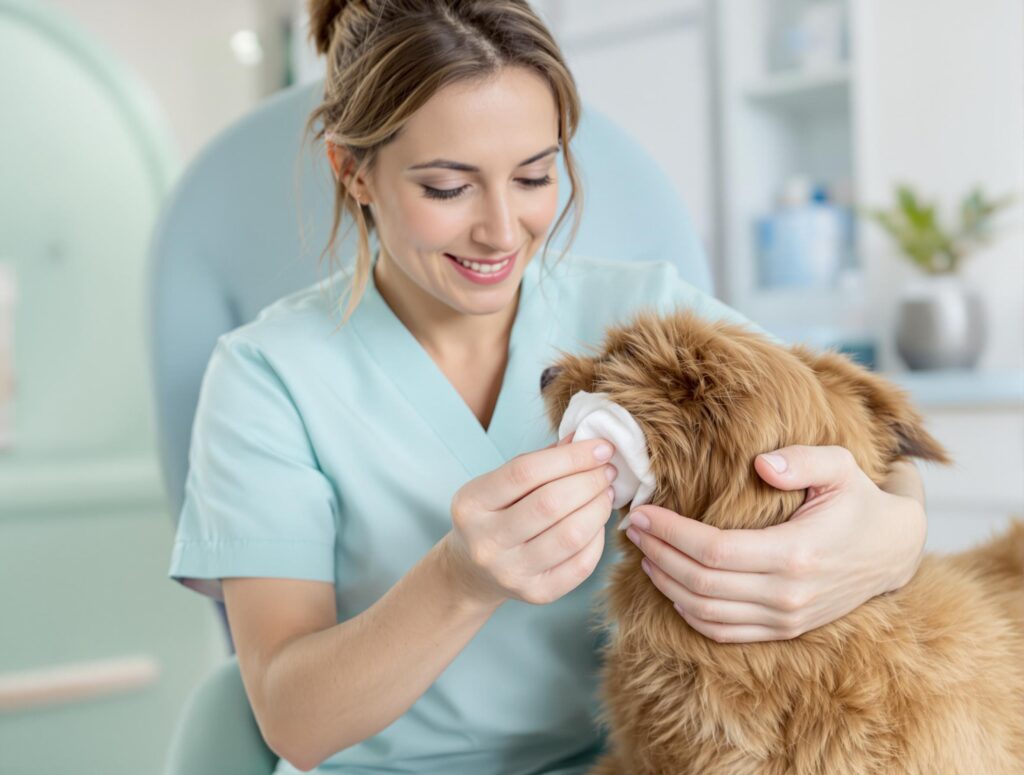
Dogs require regular ear care in order to prevent infections and maintain good health. Unfortunately, dogs are highly prone to ear infections caused by mites, bacteria, or yeast buildup. This is due to the curved shape of a dog’s inner ear that can trap large amounts of debris and make removal difficult. Furthermore, allergies can make dogs even more vulnerable to ear problems. Fortunately, with patience and practice, it is not difficult to keep your dog’s ears clean. The best time to clean your dog’s ears is when he or she is calm, tired, resting, or after a walk. Don’t attempt to clean your dog’s ears when he or she is in a playful mood or before exercise. Below are several simple guidelines to help you through the process of cleaning your dog’s ears.
Many dogs naturally dislike having their ears touched. By beginning the inspection and cleaning process at a very young age, your dog will soon become accustomed to the task. Schedule your dog’s ear cleanings on a weekly basis. Regular check-ups help ensure problems are caught in the early stages. Routine cleanings also improve air circulation, which is especially important for dogs with large, floppy ears.
To help make the ear cleaning process more comfortable for your dog, hold the bottle of ear cleaning solution between your hands for a couple of minutes to warm the solution. Shake well. Squeeze the solution into the ear canal, and gently massage the ear base using your thumb and forefinger. Continue this motion for 20 to 25 seconds.
Any remaining debris can now be removed using a cotton ball. Remember not to stick the cotton ball too far down the canal, as this could lead to irritation or more severe infection. In addition, trimming your dog’s ear hair can prevent future debris buildup.
For a better view of the ear canal, carefully pull the ear flap upward. This will help straighten out the canal and increase visibility. You should look for any ear discharge, swelling, redness, or any hair loss. These symptoms, as well as an strange odors, are all indications of an ear infection. Furthermore, if your dog has dark ear wax that resembles the look of coffee grounds, it’s highly likely your dog has contracted ear mites.
Reward your dog after each cleaning to help him or her associate the process with a positive experience. Your dog will be less resistant, which will make the cleaning routine less daunting. Don’t practice ear care after nail clipping or bath times, as your dog may already be agitated from these activities. If you follow these tips and tricks, ear care for your dog should become easier.
Regular ear cleaning is an important routine for your pet’s health. With practice, it’s easy to care for your pet’s ears. Specialized ear cleaners are available to help keep your pet’s ears free from infection or mites. Ear mites can affect both cats and dogs, spreading quickly and easily from one pet to another. Left untreated, they can cause ear infections, constant itching, and sometimes deafness. That is why it’s important to establish a regular ear cleaning regimen early to maintain good health.
Follow these tips to make cleaning your pet’s ears as pain-free as possible:
- Hold the bottle of ear cleaning product between your hands for a couple of minutes to warm the solution. This will make it more comfortable for your pet when you clean his or her ears.
- Shake the bottle of cleansing solution well to mix it completely.
- Before cleaning your pet’s ears, gently pick up your pet and wrap him or her in a towel to offer a sense of security. Hold your pet firmly but gently to keep him or her still while you are cleaning the ears.
- Squeeze the ear cleaning solution into your pet’s ear canal to flush out any wax or other debris. Massage the base of your pet’s ear to work the solution around for approximately 20 to 25 seconds.
- After allowing some time for the solution to settle in, let your pet shake his or her head to clear the liquid out. Dampen a cotton ball with more cleaning solution and rub it around the inside of your pet’s ear flap.
- Repeat the process for your pet’s other ear.
After cleaning your pet’s ears, check them weekly for any dirt or wax you might have missed. Also look for ticks, ear mites, or signs of infection such as swelling or discharge.
If despite regular cleaning your pet develops an outer ear infection caused by bacteria, fungus, or yeast, then Zymox Otic Enzymatic Solution with Hydrocortisone can help reduce itching and swelling while treating your pet’s ear infection. Do not pre-clean your pet’s ears before using this product because pet ear cleaners can prevent the enzymes in Zymox from working properly.
Brown crusty spots in your pet’s ears are a common sign of ear mites. Consider using Eradimite Ear Mite Treatment, a non-prescription medication that kills ear mites in cats and dogs. It also kills ear ticks and helps remove ear wax.